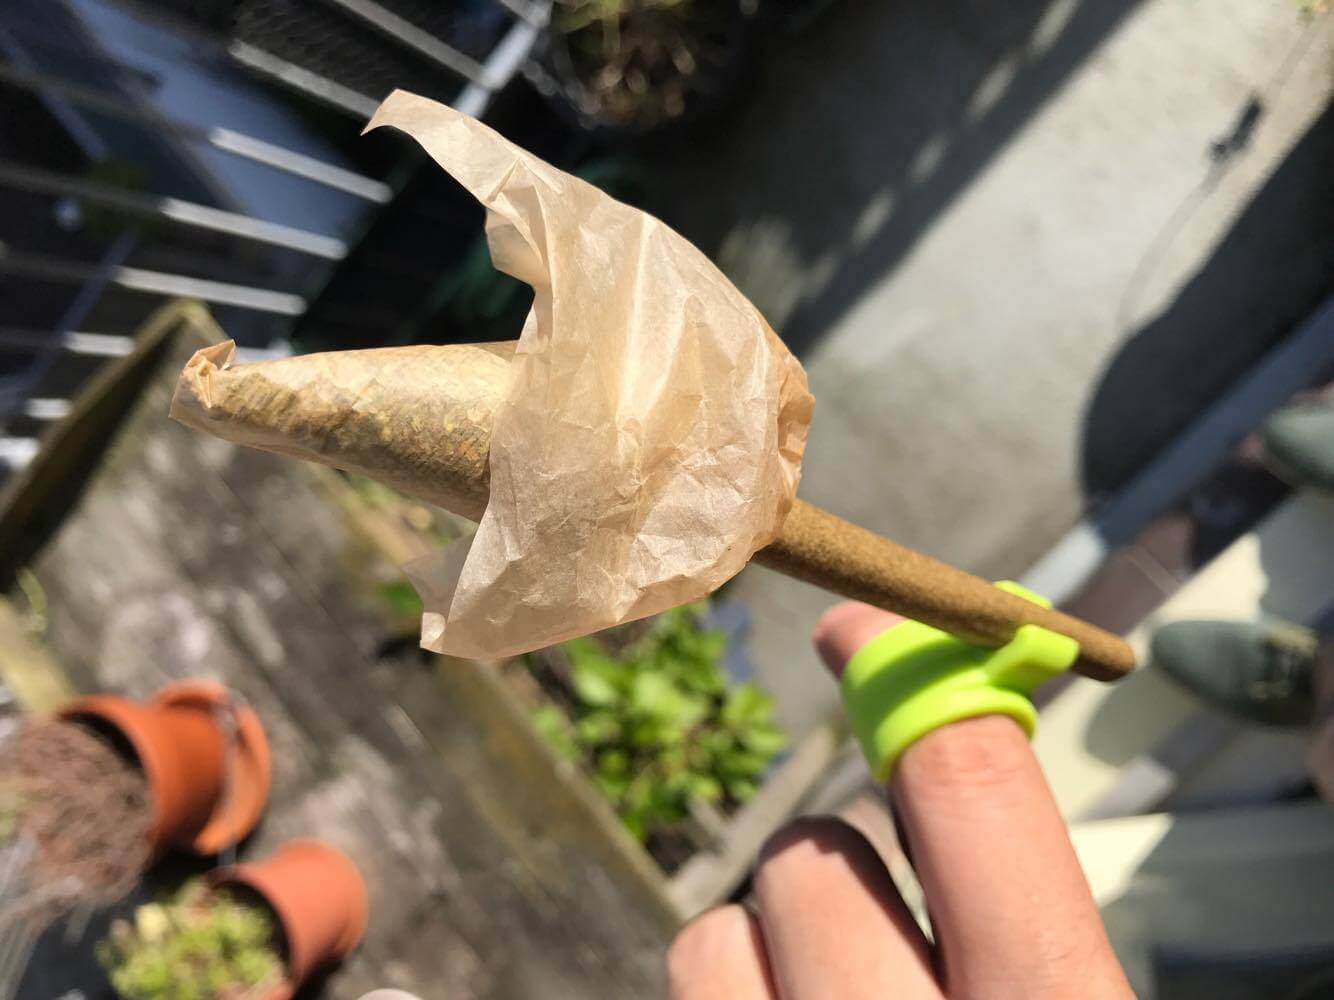
A tulip joint, also sometimes referred to as a “Dutch Bud”, is a great way to maximize your high because it has more space for flower than a traditionally-rolled joint.
The tulip joint is an Amsterdam specialty, just like its namesake, the tulip flower. It does require some practice to roll this one well- but it is well worth the effort. Bigger tulip joints can burn for 30+ minutes!
Here’s a step by step guide to the perfect tulip joint:
To roll a tulip joint you will need:
- 5 rolling papers
- 1 paper filter tip, or you can roll one yourself
- The herb blend of your choice- more than the amount you would put in a typical joint
Step-by-Step Instructions
- Roll your filter. A standard, run-of-the-mill filter is just fine for this technique.
- Add your filter to the end of one paper, and fill the paper up with weed as you would a normal joint.
- Slowly begin to roll it into a slight cone shape, and lick the inner edge of the paper. Gently finish rolling it by spinning it slowly until the wrap fully sticks.
- Tap the end with the filter to pack the weed down, and then top it off a bit. Stroke it once to loosen it up, and set it aside.
- Next, you’re going to make your bigger cone, or the bulb part of the tulip. Begin by grabbing three of your papers. Lick the sticky edges and attach them to each other lengthwise one by one to form a rectangle shape. Set this aside too for now.
- Rip your last paper in half lengthways. Take one half and twist it into a thin rope.
- Now, fold your big rectangle rolling paper trifecta into a big cone shape. You can do this by leaving a sticky side up at the top side of the rectangle, and folding the bottom left corner of the rectangle up and over the sticky edge. Just remember to leave a majority of the sticky portion exposed to close your tulip bulb by licking that edge.
- After you lick the edge, and fold the paper over to seal it, give it a few seconds to dry and then open the cone outwards.
- Fill your big cone up with herb. Pack it down gently.
- Take the first joint you have set aside from earlier, turn it upside down, and stick it right down into your big cone full of herb.
- Wrap the excess paper from your rectangle around the smaller joint you just inserted, cinch it together, and seal it by tying the thin rope around it. Fold the excess paper still sticking out back up and around the big cone to achieve the tulip appearance of this joint.
- Light it up & smoke it down!
Smoking Hot Toking Tips
Our team is lucky to have a lot of experience with dutch tulip joints, so we offer these expert tips on maximizing your experience:
- Longer variations of papers produce better results for this particular rolling technique.
- Add some wax or shatter into your tulip joint for an elevated high.
- Since this particular rolling technique uses more than one paper, mix and match different flavored papers to create a different taste every time. For example, combine chocolate and strawberry papers for a delicious dessert-flavored joint!
- You can use more papers to make a bigger bud or “tulip bulb”, but make sure they are in an even number and form a rectangle.
Practice makes perfect and it will likely take a few tries to get it right, but when you learn the skill, enjoy it, and be sure to puff, puff, pass it on to other cannabis enthusiasts.
Leave a Reply