
So, you have the budget, the will and the enthusiasm to start growing marijuana from the comfort of your own home. That’s excellent, but you are still a bit far from actually getting your hands dirty. The next step is gathering all the necessary marijuana growing supplies for your garden.
We already have an article about the cheapest marijuana growing setups, but here we are going to give you a complete idea of what to expect when shopping around for marijuana growing supplies. This time we are not going to cut corners and we will present you with all the necessary components for a high-quality grow.
Marijuana Growing Supplies Shopping List
The growing supplies you will need to get for your soon-to-be-awesome grow room are the following:
- Grow Tent
- Grow Lights
- Growing Mediums
- Nutrients
- Climate Control and Ventilation
For those who are not too willing to spend time buying every part of their gear separately through physical and digital stores like Amazon, there are complete growing kits sold by many vendors. These kits contain all of the above, plus a grow tent or a grow box to put your babies in.
The advantages of this shortcut are apparent (huge time saving and convenience). However, complete grow kits consist mostly of medium-quality components, sold for steeper prices. They are by no means a bad solution, but if you want some more control over your grow, it is better if you get everything by yourself.
The difference is akin to getting a pre-built PC instead of trying to make your own gaming rig. It will not necessarily be wrong, but convenience comes at a price! We will revisit the complete grow kits topic in a future article.
All of the calculations we have made below are for a basic 1-2 plant garden. If you plan on going for more, adjust the prices accordingly.
Grow Tent
If you already have a designated grow room for your plants, ignore this step. A grow tent will help you regulate the size and the climate of your garden and is designed explicitly for indoor grows. That means it comes with holes for cables and ducting, mounting areas for lights and is already covered in reflective material for equal light distribution.
Grow tents come in many dimensions, shapes, and heights. For a basic grow, the minimum tent dimensions are 60x60x140 minimum (cost: $60). Consider is how tall your plants will grow and then add 40cm of overhead for the grow lights above them. Read the product reviews and insist on learning more about the quality of the zippers (nothing worse than a grow tent that doesn’t close) and the quality of the supporting poles.
Grow Lights
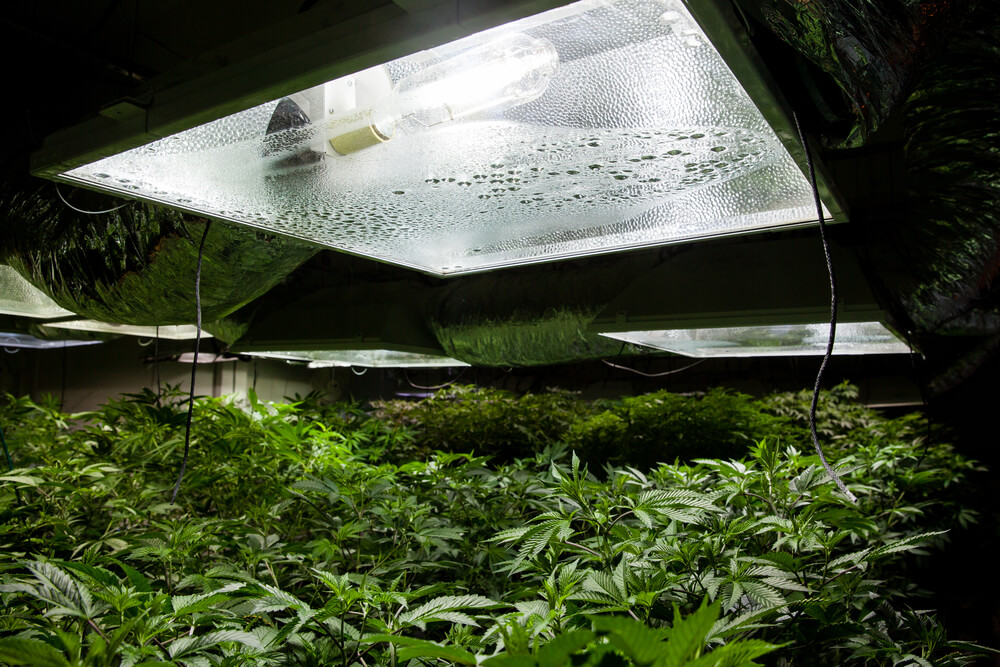
Choosing your grow lights is the cornerstone of a great grow setup. There are quite a few choices on the market, each one with its own quirks and strengths. We have covered the primary attributes of each grow light type in another article, so, we can now focus on the financial aspect.
Fluorescent Lights
A cheap and reliable solution for the first-timer. You will need different setups for the vegetative and flowering phases, according to your plants’ requirements. Overall, you will need at least 200W of CFL power to get around 30-60 grams of product.
You will need:
- 3x40W 5000K – daylight CFL light bulbs for the vegetative phase ($11 each);
- 2x60W 2700K – soft white CFL light bulbs for the flowering phase ($20 each);
- 3x Light sockets with reflectors for better light distribution ($8-10 each);
- 3x Twin light socket adapters to connect two lamps in one socket ($7 each).
The total cost for this grow light setup will be around $130 depending on your particular needs. You might be able to save some costs if you go for 42W or 55W soft white bulbs. The electricity costs for this setup will be around $25 per month.
LED Lights
A basic LED grow light setup right now costs way less than it did a few years ago, due to rapid technological advancements and competition. Getting a LED grow light for your indoor garden makes a lot of sense due to their power, cool running temps and efficiency.
With LEDs, it is vital that you do your due diligence before purchasing. There are many caveats regarding quality, such as the build of the diodes and the actual power draw of the fixtures. What you need to know right now is that you need a unit with at least 200W of ACTUAL power draw. To get that, you should aim for a grow light that is advertised as a “600W” in the market. Here is a handy tool for calculating the actual wattage based on other data!
Confused? That’s understandable! You see, most LEDs are named after the Watts they can potentially reach if they work at 100% at all times. Of course, something like that would greatly diminish the lifespan of the bulbs. Most grow light fixtures work at 55-60% of their actual specifications. So, an 800W LED is actually 450W (at best) and can replace a 600W HID fixture. Most LED panels need to be kept 45cm (18 inches) away from the tops of plants.
There are some affordable 600W LED grow lights on Amazon that sell for under $200, offering a great yield per true Watt. Of course the actual yield you’ll get depends on many factors (most importantly on the marijuana strain), but expect about 0.5g/actual watt. So, a LED grow light with an ACTUAL power draw of 250W will get you about 85-100g (3.5-4oz). The monthly electricity cost for this would be around $20 per month.
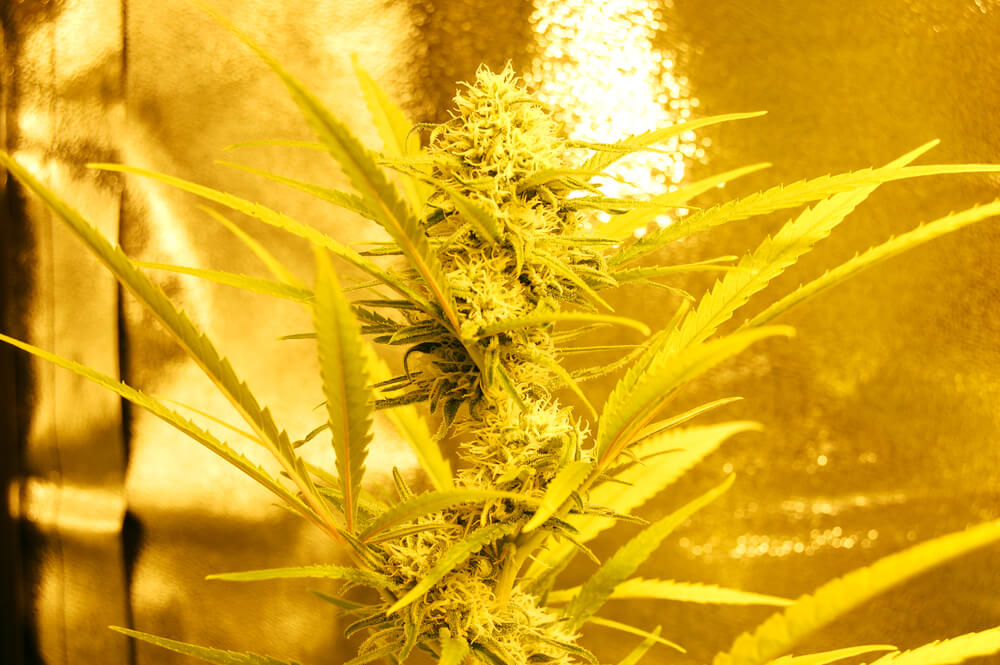
HPS Lights
High-Pressure Sodium lights are the best choice for bigger yields but will need some extra care compared to the others on the list. First of all, these bulbs tend to run quite hotter than the others. This means that:
- They have a shorter lifespan;
- They can raise the temperature inside the grow room;
- If you are not careful, they can even start fires!
All of this can be easily avoided if you place your grow lights at a safe distance from the canopy and have adequate ventilation. HPS grow lights will also use up more electricity ($45-80 per month) but will make up the costs in the final yield!
A 250W HPS light bulb is not expensive on its own and will not cost you more than $20. The hood, on the other hand, is where you should put your focus: The best solution is a 6” air-cooled hood with reflectors, that will set you back about $75. Also, it would be a good idea to get some spare lamps to lie around. You never know when you’ll need them!
This fixture will yield about 120-250g (4-9oz) of product depending on the strain and environment, beating others out of the park with its performance. Larger HPS setups will grow more plentiful yields but will require more expensive equipment to optimize the environment, so bear that in mind as well!
Growing Mediums
There are two major categories of growing mediums (or media) available on the market: Soil and hydroponics. Soil is more straightforward and easier to deal with, while hydroponic mediums take a bit of getting used to, but provide with cleaner buds. As long as you are careful, you can make either one of them work on your first grow.
Remember that you will need containers for both solutions! Don’t worry; we’ve included them in the price!
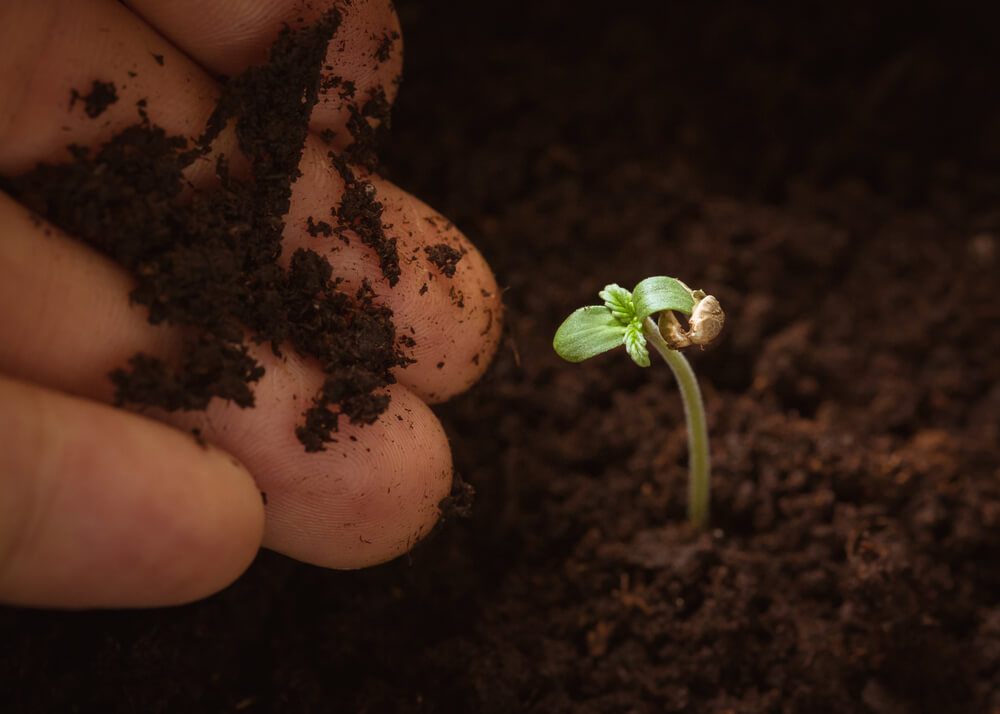
Soil
If you decide to grow with soil, things are pretty much self-explanatory: You need a bag of potting mix and some containers. Soil prices might vary, but on average expect to pay around $20-30 for 50L (13 gallons) of potting soil. Containers will rarely cost more than $15 per 5-pack, although this can scale according to size and material.
Hydroponic
Here things get a little more tricky: There are many ways to grow hydroponically, but in general hydroponic mediums get submerged into a water container (reservoir) that needs to be changed every so often.
A reservoir for 2-4 plants will cost you about $150, pots included. The growing medium itself can be made out of coco coir ($15 per 650g brick) or perlite ($32 for 50L). When growing hydroponically you must be especially careful of the nutrient intake of your plants, as well as the pH of the water.
Nutrients
In hydroponic grows, nutrients are mixed in the water forming the nutrient solution which both hydrates and aids the plant’s health. Soil fertilizers work similarly, but they do not necessarily have to be in liquid form.
In both cases, the primary macronutrients in fertilizers are Nitrogen, Phosphorus, and Potassium. Every fertilizer bag or nutrient bottle you will come across will label the content of these elements on the packaging.
Hydroponic nutrients will cost anything from $60 to $120 depending on their use and nutrient content. Nitrogen is essential during vegetation, while phosphorus and potassium are more useful towards the flowering phase of the plant. Most nutrient solutions come in packs to accommodate all stages, from seed to harvest. Just remember to go easy when mixing them into your grow medium, especially in the beginning. Use half of the recommended dosage and build from there.
Climate Control
When growing marijuana indoors, you must ensure that the environment is ideal for your plants. Temperature, humidity and proper ventilation must be carefully monitored to avoid nasty surprises that come when plants are exposed to adverse conditions (like god-forsaken males appearing in your garden).
A good thermo/hygrometer will allow you to measure both the humidity and the temperature inside your grow room and won’t cost more than $15. These devices are available everywhere and will help you a lot in the long run.
Also, a timer for your grow lights will be very useful, as the light needs of the plants change according to the life cycle they are in (more light during the vegetative stage, less in the flowering stage). Light timers go for anything from $10-$30 on the market. The fancier models come with LCD screens, while cheaper ones have a less-than-intuitive design (that works nevertheless).
Ventilation
Regulating the airflow of your basic grow room is not difficult. For smaller grows, a regular oscillating fan will do the trick, as long as the hot air has a way out. A mini fan will cost about $15 and you will be able to clip it anywhere in your grow room. The breeze should hit your plants to prevent mold and heating problems.
Bigger grows need inline fans and ducting for air extraction. Installing a ventilation system can be tricky, but luckily there are many tutorial videos on the web to help you with the process.
A modest 4-inch inline fan will cost about $40 and it comes with a variable speed controller. Fan ducting cost will vary depending on size and length: For five meters of 4-inch ducting, expect to pay around $8-10. Serious growers might also consider purchasing a carbon filter to eliminate the stench of flowering cannabis, but for smaller grows an odor-neutralizing gel ($15 for 1L) will also do the trick.
Choosing Your Marijuana Growing Supplies
This article points out to the necessary equipment that any marijuana grower should consider purchasing according to their particular needs. Obviously, you don’t need to buy everything right away, nor we do recommend it. Instead, educate yourself about growing and experiment at the same time. Our series of articles on marijuana growing will be here to provide you with easy to read information every step of the way!
Leave a Reply