If an asteroid the size of Texas was hurtling towards Earth, you wouldn’t want to assemble a crack team of stoners to figure out how to throw it off course. If you wanted to figure out how to turn it into a smokable homemade bong, then allow me to introduce you to some friends of mine.
• The 8 Best Books About Cannabis You Absolutely Need to Read
• 10 Best Cannabis Documentaries to Watch Right Now
• You Can Soon Get a Degree in Cannabis from Colorado State University
It’s no secret that if you put a bunch of stoners in a room with some weed and no way to smoke it they will within moments morph into a team of mechanical engineers and master craftsmen.
If you’re at home with weed and no bong, follow these tips passed down from the elders.
1. Get Thee a Bottle
Any plastic bottle will do but 16-24oz is the best choice.
Staying hydrated is important for your personal health. It also means you’re much more likely to have the means of making a DIY bong on hand at your house when the time comes.
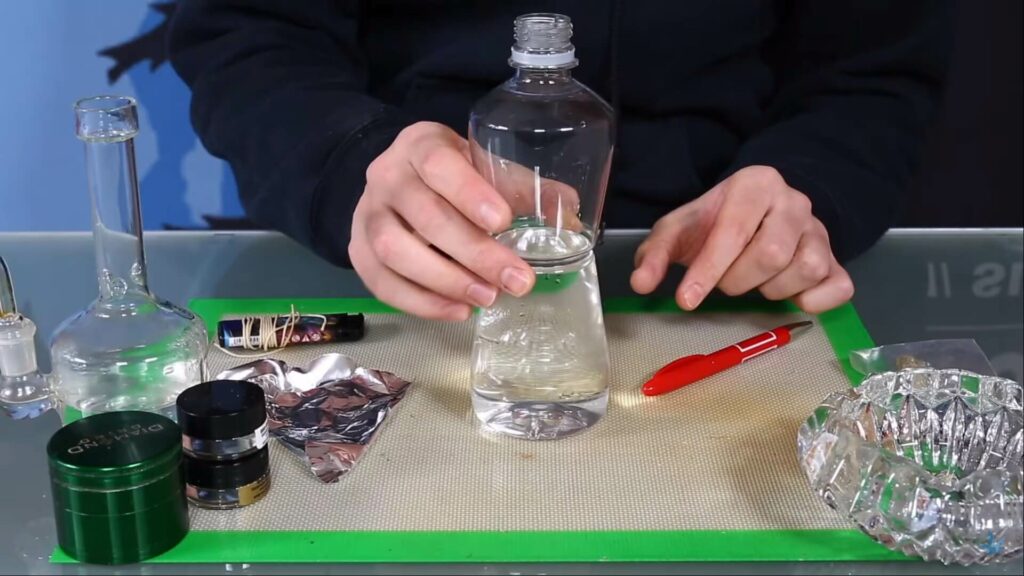
Your first step when making a homemade bong is to find a plastic bottle. The best size is typically anywhere in the 16-24 oz (that’s 470-700ml for our international friends) range, though you can also go a little smaller if need be. The iconic 12-ounce honey bear bottle is a stoner classic – though make sure you wash it out thoroughly with some very hot water (and if time is of the essence, this may not be an option).
Once you find a bottle that’s just right, make sure to rinse it out completely and take off any plastic label stuck to the outside.
2. Find a Stem
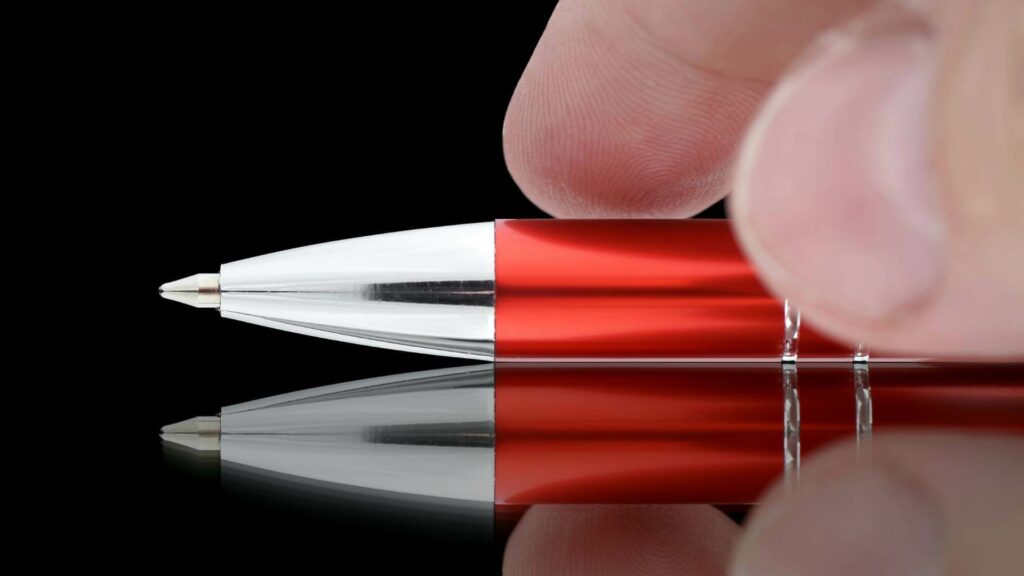
Ballpoint pens make a fantastic stem for your homemade bong.
This part is actually just a little bit tricky. You’re going to want to find a stem for the bong, and while a glass stem is ideal, if you don’t have one sitting around the house and you don’t want to buy one of those rose in a glass tubes from the convenient store, you may be outta luck.
Find a plastic pen from around your house, ideally one with a somewhat thicker diameter. You may also consider cutting off a small section of garden hose if you have one sitting around the backyard.
3. Make a Hole for the Stem
If you make the hole to big, you can just seal it up with some chewing gum.
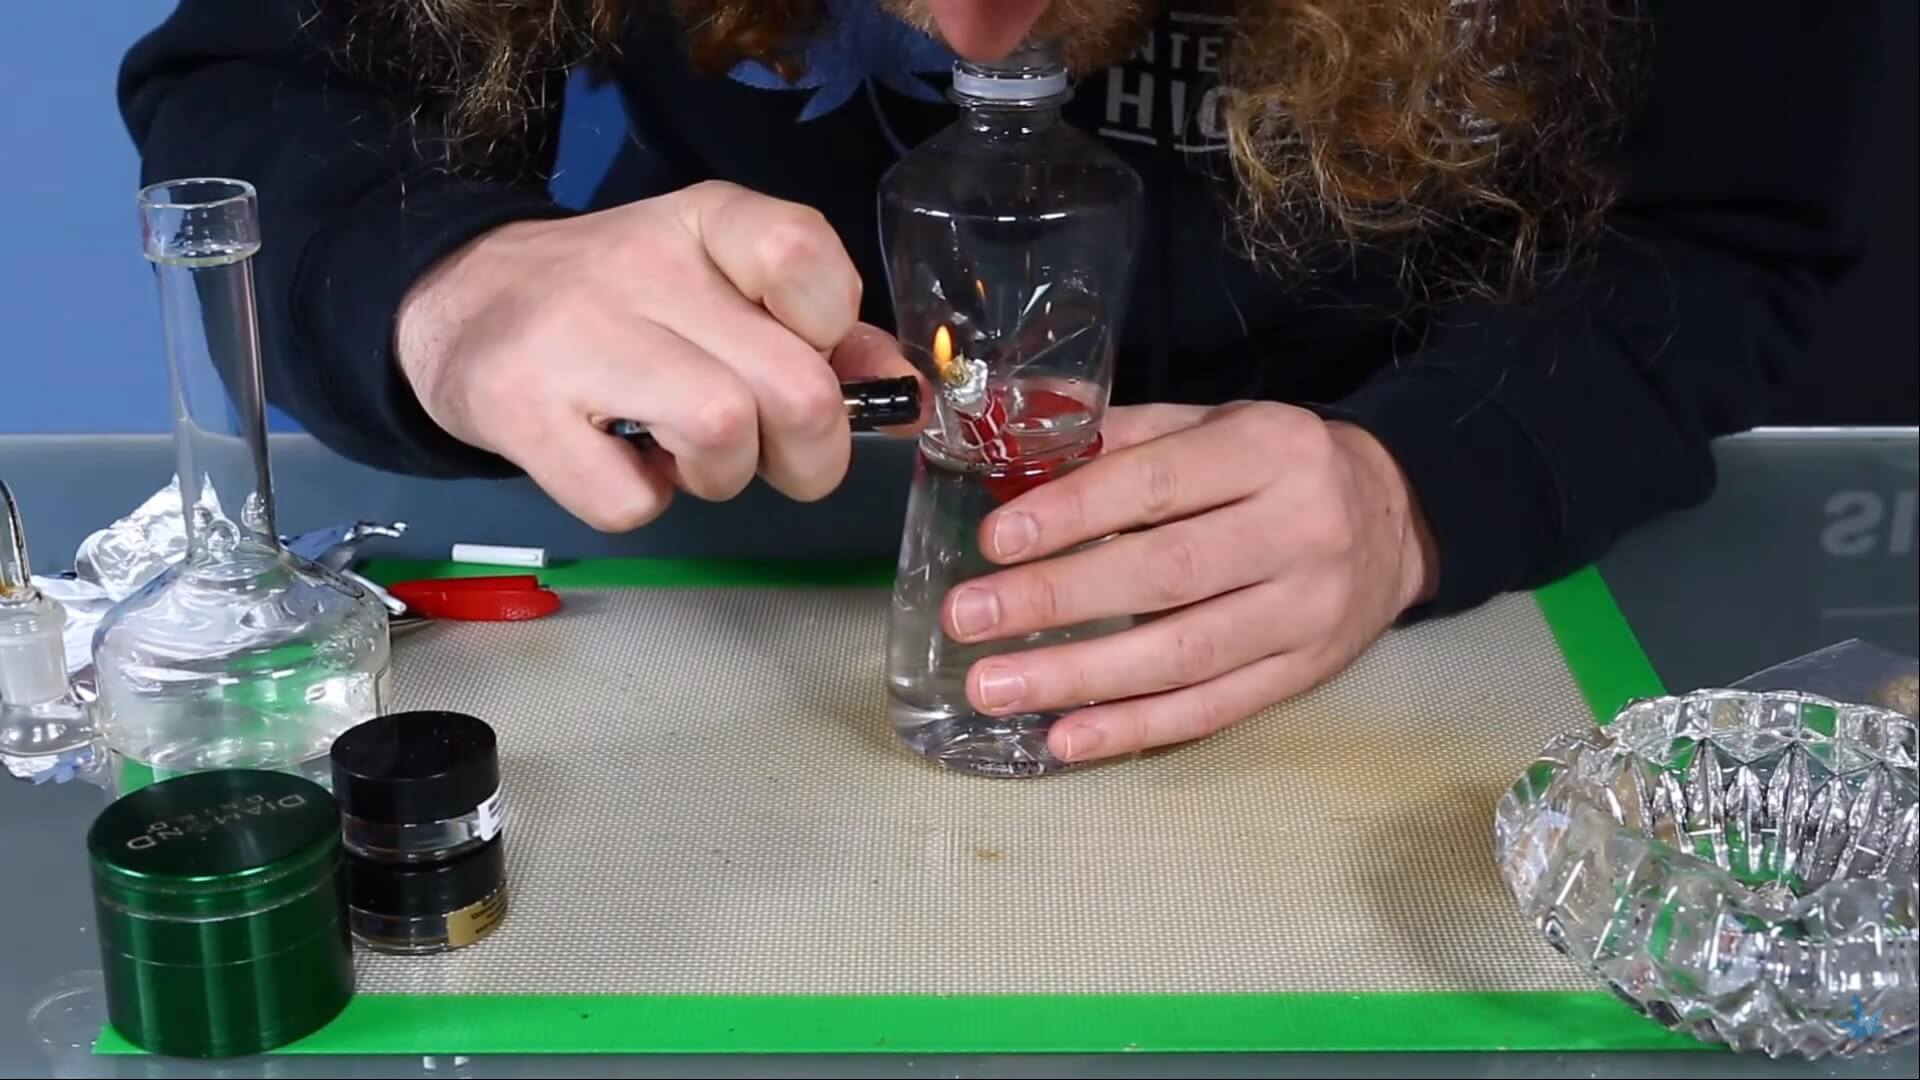
Find a spot a few inches from the bottom of the bong where you want to put the stem. Make sure it isn’t too close to the top or the bottom of the bottle.
Take a lighter and heat up the spot to where you can then push the pen tube, the glass stem/crack pipe, or length of garden hose through it like a knife through butter. If you heated it up enough, the stem should pass through easily, creating a perfect seal.
Make sure to test out the seal, inhaling through the mouth of the bottle while holding your finger over the end of the stem to see if there’s a vacuum. If not, you need to seal it, asap. You can take some gum or electrician’s tape, even a little silly putty can work.
4. Make a Carb
This part is a matter of taste. Some people like the carb to be at the top of the bong, some people like it down at the bottom just above the waterline.
We recommend putting the carb down at the bottom, just above the water, where it’ll do a better job clearing out all that sweet white smoke.
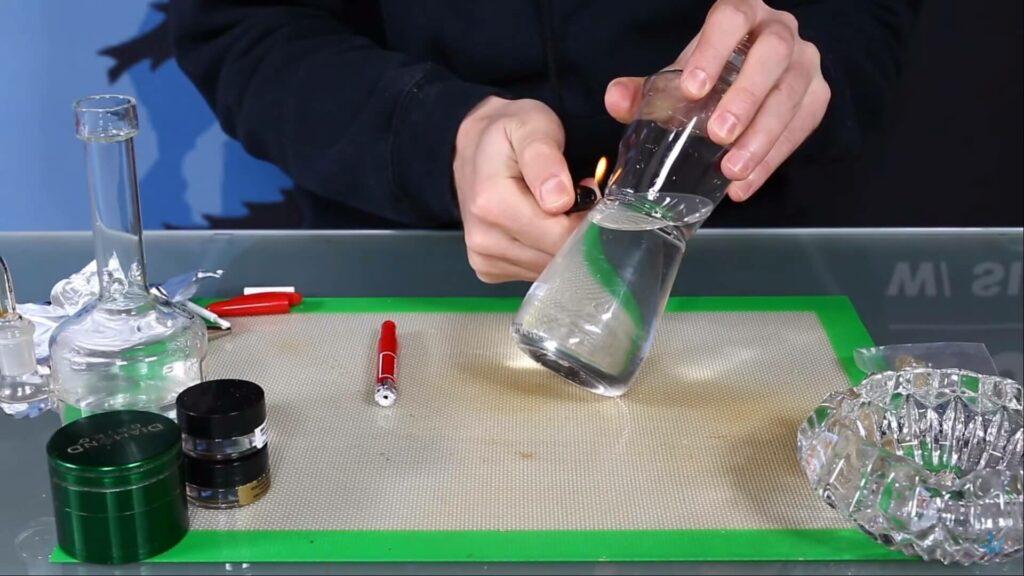
Take a knife or a pair of scissors and cut a small hole in the back of the bong either at the top or bottom and you’re all set. You can also use a nail, a screw, or any other easily manipulated piece of metal that you can heat up and push through the back of the bong.
One very solid method is to take a wire coat hanger and straighten out the hook. Then heat the top of the hook until it’s white-hot and push it right there the bottle where you want the carb to be. Just uh, you’re probably not going to want to use that hanger again.
5. Make a screen for the bowl
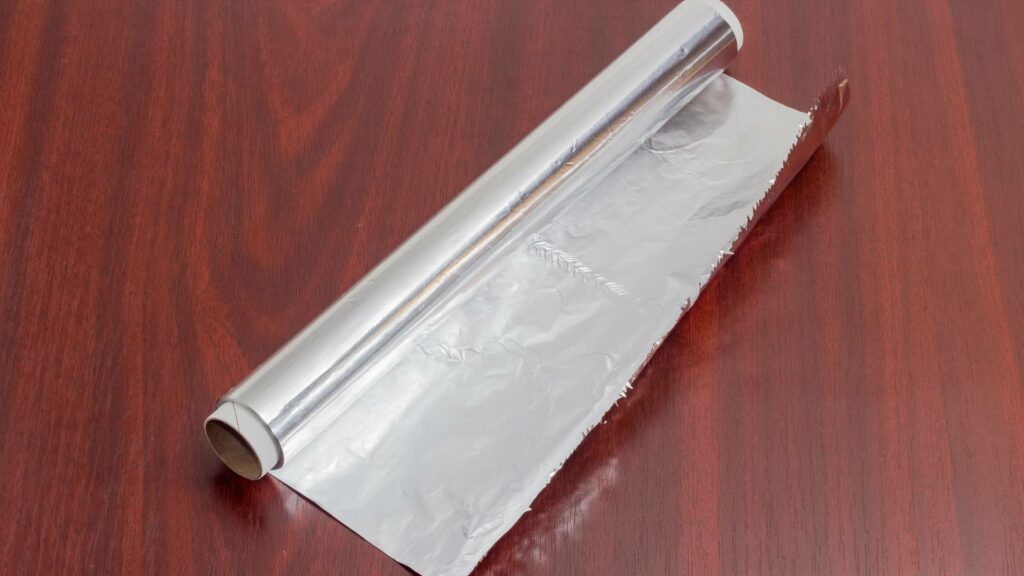
Any type of aluminum foil will do. Be sure not to make the holes to big
Go to the kitchen, the cupboard, or wherever the hell you keep the aluminum foil. Take a small patch of foil and place it across the end of the stem. Use enough to where it goes well over the tip of the stem and then push it down, creating an indentation that you can use as the bowl. You can then take a rubber band to fasten it around the stem.
Next, take a sewing needle or anything sharp and pointy and punch a few tiny little holes in the bowl. You’re now only one step away.
6. Put your weed in there

Pack your bowl and light it up
Take a nice little bud, about enough for a nice bowl but not too much. Place it in the bowl, spark it, and give er a strong bong rip.
With that first hit, you’ll get an idea of how well it hits and if you should make any adjustments.
Make sure to keep the flame away from any plastic, and to clear the ash after every bowl you cash.
7. Pat Yourself on the Back
There you go, now you’re high.
You are now stoned, that’s an accomplishment. Most importantly, you’ve shown that with a little initiative and common household supplies, you can move mountains.
It might not mean you’re ready for the apocalypse, but when/if it does come, you’ll be able to take a serious bong rip and watch the world burn.
Leave a Reply